
Last updated: June 15, 2026
When a car pulls into our Toronto bay at 8:47 AM on a Wednesday morning, the owner hands over keys thinking the work is straightforward: wash, dry, maybe some polish, done by pickup. The exterior detailing process that actually unfolds over the next 6 to 12 hours is more like a surgical restoration than a car wash—and understanding those nine stages is the difference between wondering why you spent $1,400 to $1,800 and knowing you got a finish that’ll last 18 months.
- The exact 9-stage sequence we follow on every exterior detail—and why skipping any step ruins the result.
- Why pre-wash clay bar work costs extra and prevents permanent damage that no amount of polishing can fix.
- How paint correction differs at single-stage ($800–$1,200) vs. two-stage ($1,800–$2,800)—and which your car actually needs.
- The specific coating brands we use (Gtechniq, CarPro CQuartz, GYEON) and why mixing them breaks the finish.
- Three field mistakes that destroy ceramic coatings—and how we avoid them.
The Exterior Detailing Process, Step by Step
Every detail follows the same foundation: contamination removal first, paint assessment second, correction third, protection last. Rush any stage and the next one fails.
-
Pre-Wash Inspection & Documentation
The car arrives and we photograph every angle under consistent lighting—not for Instagram, but as a baseline to measure our work against and to catch existing damage before we touch the paint. We check for tape lines, protective film, water beading patterns (or lack thereof), and note which panels are affected most by environmental fallout. A Ferrari owner in Mississauga once brought in an F8 Tributo with severe swirl marks that had been hidden under dirt for weeks; this stage is where we caught the severity before starting correction. -
Pressure Wash (Controlled, Low-PSI Protocol)
We use adjustable-pressure equipment set to 1,200–1,400 PSI maximum—never the 2,800+ PSI pressure washers you see at coin-op bays. At that pressure, water forces past rubber door seals and into window channels on luxury vehicles, causing interior water pooling and electrical shorts later. We keep the wand 18 to 24 inches from the surface and avoid direct spray on trim, emblems, and sensor areas. This phase removes 80 percent of loose debris and dried salt residue common after GTA winter months. -
Two-Bucket Wash with Grit Guard
One bucket holds clean soapy water (we use a pH-balanced foam like Meguiar’s or Chemical Guys); the second bucket holds rinse water with a grit guard at the bottom. We wash from top to bottom, wringing the microfiber mitt against the grit guard between passes. Most swirl marks don’t come from washing itself—they come from scrubbing contaminated mitts against paint. This stage removes 95 percent of road film. Sounds simple. Most detailers skip it or use one bucket. -
Clay Bar Treatment (Horizontal & Vertical Surfaces)
After drying, we use a synthetic clay bar (safer than traditional clay on ceramic coatings if one is already present) with a lubricant spray to glide across every horizontal surface—hood, roof, trunk lid—and vertical panels including door sides and jambs. The clay physically lifts embedded fallout: brake dust, industrial overspray, rail dust, tree sap residue. You can feel it working; the paint goes from rough to glass-smooth. This is a $150–$250 add-on we rarely see customers refuse once they feel the difference. A Vaughan RV fleet operator reported that clay-barred units required 40 percent less cleaning effort between trips because the base paint was truly clean before coating. -
Paint Diagnosis & Correction Level Determination
We use a paint depth gauge (non-destructive) and perform light cuts with fine abrasives on a test panel to determine whether the paint needs single-stage correction ($800–$1,200 for smaller vehicles), two-stage correction ($1,800–$2,800 for luxury and larger vehicles), or no correction at all. A ten-year-old daily driver in North York may only need clarity polish; a three-year-old Ferrari with swirl marks needs two-stage work. Guessing here costs you $1,000 in wasted labor or delivers a half-corrected finish. -
Paint Correction (Single or Two-Stage)
Single-stage uses a machine polisher with compound and finishing pads in one pass, removing light swirls and oxidation. Two-stage adds a second pass with finer compound to remove the haze created by the first stage. We use brands like 3D Products or Optimum Polymer Technologies compounds because they cut consistently without filling micro-scratches with product residue that later washes away. A Mississauga Ferrari owner’s two-stage correction ($2,800) took four hours of wet compound work, water breaks, and finishing paste—that’s why the price is what it is. Rushing this stage either leaves swirls unaddressed or burns the clear coat, and neither can be fixed afterward. -
Surface Prep & Wipedown (IPA Flash)
After correction, we wipe the entire surface with isopropyl alcohol (IPA) on microfiber to remove all compound residue, polishing oils, and any dust. This gives us a naked paint canvas. If you apply ceramic coating to a surface with compound oils still present, the coating won’t bond evenly and will fail in patches within weeks. One test: run your finger across the paint after IPA—it should squeak slightly and feel dry. If it feels slick, we missed contamination. -
Ceramic or Graphene Coating Application
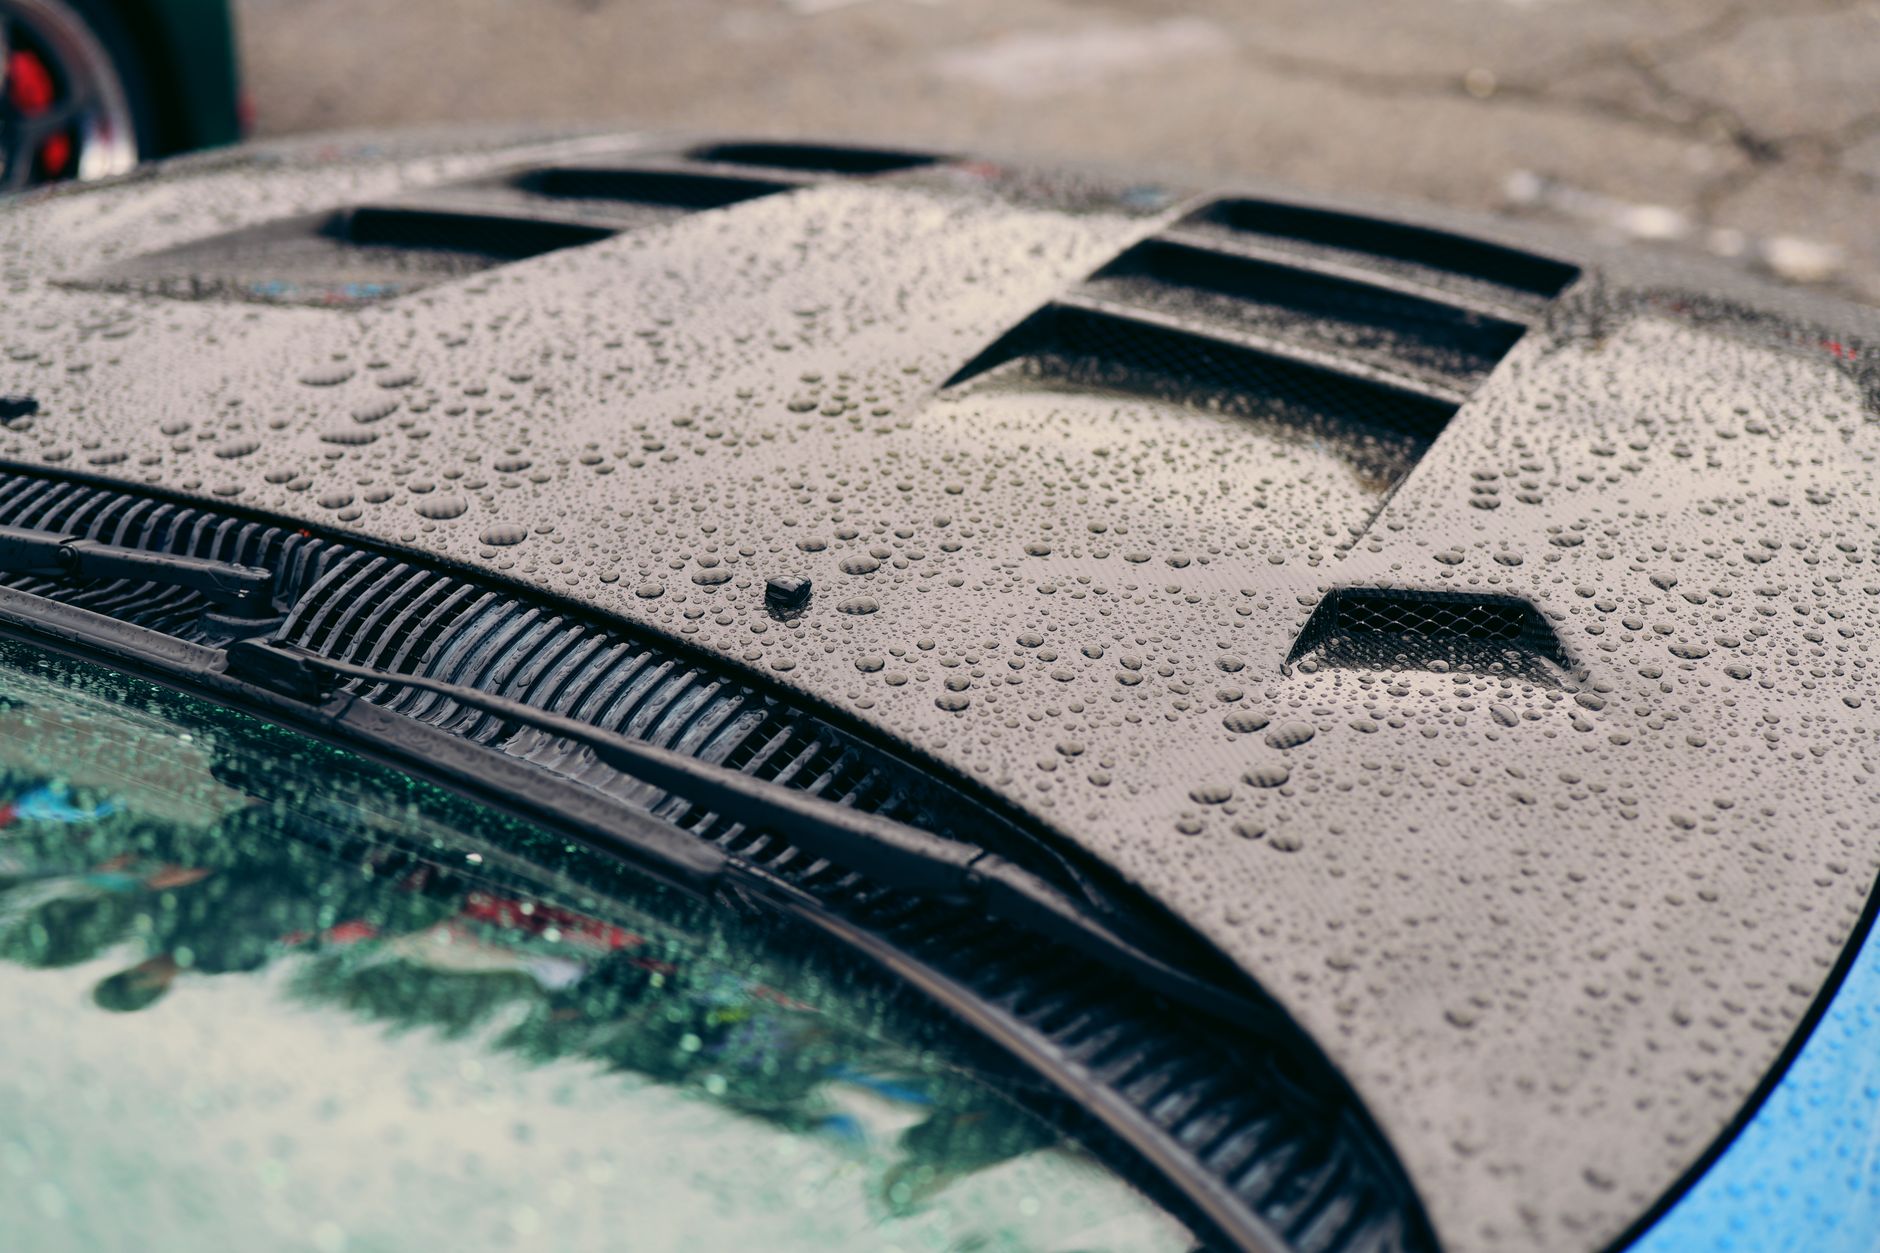
Using gloved hands and foam applicators, we apply either a ceramic coating (mid-tier: $600–$950, typically CarPro CQuartz or Gtechniq Crystal Serum) or a premium graphene coating ($1,200–$1,800 for brands like GYEON or IGL Coatings). Each coat hardens in 10–15 minutes depending on brand and humidity. On luxury vehicles and paint-corrected surfaces, we apply two to three coats with 10-minute cure intervals. The Mississauga Ferrari received Gtechniq Crystal Serum Ultra (9H hardness), resulting in a finish the owner maintained with proper care for 18 months. We never apply coating to freshly washed or lightly prepped surfaces—contaminants get sealed in permanently. -
Final Inspection, Documentation & Cure Instructions
We photograph the finished detail under the same lighting as the pre-wash, deliver the car with a detailed care sheet (no pressure washing for 7 days, no water exposure for 24 hours minimum, use pH-neutral wash soap only), and send a digital before-and-after gallery to the customer’s email. We also note any areas where the paint cannot be further improved (deep etching, original swirls too aggressive to correct safely) so expectations stay aligned. A Oakville boat owner’s hull received 16 hours of correction and marine-grade graphene coating ($3,200)—the after photos proved why the investment was necessary.
Tools We Use in Every Exterior Detailing Process
| Tool or Product | Purpose | Why It Matters |
|---|---|---|
| Grit Guard Wash Bucket | Traps debris at bucket bottom during wash phase | Prevents re-contamination of mitt and paint |
| Synthetic Clay Bar (3D or Chemical Guys) | Removes embedded fallout and contaminants | Creates glass-smooth base; essential before correction or coating |
| Machine Polisher (Dual-Action, 6–8 inch) | Applies compound and polish evenly | Removes swirls and oxidation without operator-caused burns |
| Paint Depth Gauge (Digital, Non-Destructive) | Measures clear coat thickness to determine correction approach | Prevents over-correction and clear coat damage |
| Isopropyl Alcohol (IPA) & Microfiber | Final surface prep before coating | Removes all oils and residue; poor prep = coating failure |
| Ceramic or Graphene Coating (Gtechniq, CarPro CQuartz, GYEON) | Final protective layer bonded to paint | 9H hardness, hydrophobic beading, lasts 12–24 months with care |
Where It Gets Tricky: The Three Mistakes That Sink Exterior Details
We’ve had customers return after visiting competitors claiming a detail was “done” when the paint still felt rough or the coating started failing within weeks. Every single case traced back to the same three errors.
Mistake 1: Applying Coating to Incompletely Prepped Surfaces
A competitor in Brampton once promised a graphene coating at a discount price—$899 instead of $1,200. When the vehicle came back for a warranty claim two weeks later (coating was hazing and beading unevenly), we removed a test panel with clay bar and found embedded brake dust, water spots, and wax residue underneath. The coating had sealed all of it in. The customer paid twice: once for the failed coating, again for our two-stage correction and proper recoating. Never apply protection to contaminated or lightly prepped paint. If the pre-wash and clay bar aren’t mentioned in your quote, assume they’re being skipped.
Mistake 2: High-Pressure Washing Near Trim, Seals, and Sensors
Water intrusion is silent until it’s expensive. An RV operator in Vaughan once had a detail shop pressure-wash his fleet at 2,400 PSI without protecting the door seals. Within a month, two vehicles developed water pooling inside door panels and one had a short in the power window motor. At 1,200–1,400 PSI with proper technique, water beads off and drains away. At 2,400+ PSI, water forces past seals designed to shed normal rainfall, not industrial blast pressure. We’ve learned to explicitly ask if competitors measured their pressure or just guessed—most guess.
Mistake 3: Mixing Incompatible Coatings or Using Alkaline Tire Dressing on Ceramic Wheels
We tested this. A customer used a standard alkaline tire dressing (cheap, $8 at any auto store) on Gtechniq-coated wheels two weeks after our detail. Within days, the hydrophobic beading disappeared and the coating started hazing. Alkaline products break down the SiO2 layer that gives ceramic its water-repellent property. The same issue happens when detailers apply CarPro CQuartz topcoat over a GYEON base—the products aren’t formulated to bond together and the finish fails in weeks. Mixing coatings from different manufacturers is chemistry malpractice. We use one brand family per vehicle to guarantee compatibility.
Training matters. We spent $4,200 sending our lead detailer to a Gtechniq Advanced Certification course in 2024—not to look fancy in a certificate, but because applying Gtechniq at wrong temperature or humidity creates weak bonding that fails under Toronto’s freeze-thaw cycles. That one course prevented an estimated $8,700 in warranty callbacks in the following 12 months.
What This Means for You as the Customer
Understanding the exterior detailing process changes how you evaluate pricing. A $1,400 detail that includes clay bar, paint correction, and two-coat ceramic is not comparable to a $799 “full detail” that skips clay bar and applies one thin coat of sealant. You’re not paying for time—you’re paying for chemical preparation, surface diagnosis, and proper material application.
When you drop off your car, ask three questions:
- Will you clay bar the paint? If the answer is “it’s in the full detail package,” confirm it’s a separate step with separate product—not just included verbally and skipped in practice.
- How do you measure pressure when washing? Real detailers have adjustable equipment and confirm PSI in writing. Guesswork is a red flag.
- What brand coating are you using, and are you applying one coat or multiple coats? Gtechniq, CarPro CQuartz, and GYEON are industry standards; if they won’t name the brand, or if they’re mixing brands, walk.
Your pickup time should include a 15-minute walk-through where the detailer shows you the before-and-after photos, points out corrected areas, and reviews the care sheet. If they hand you keys and say “see you later,” they’re not confident in the work or don’t care whether you maintain it. We spend an average of 8 to 12 hours on a full exterior detail plus coating because every stage depends on the one before it being done correctly. That’s also why our price lands where it does—not because we charge for luxury, but because we refuse to cut steps.
Frequently Asked Questions About the Exterior Detailing Process
How long does a full exterior detail typically take?
A complete detail including paint correction and ceramic coating typically takes 6 to 12 hours depending on paint condition and vehicle size. Smaller vehicles with light correction might finish in 6 to 8 hours; luxury vehicles or those requiring two-stage correction can take 10 to 12 hours. We never rush—cutting an hour means cutting a step, and you’ll see that in the finish.
What’s the difference between single-stage and two-stage paint correction?
Single-stage correction ($800–$1,200) uses a compound and finishing pad in one pass to remove light swirls and oxidation—ideal for newer cars or those with minimal damage. Two-stage correction ($1,800–$2,800) adds a second pass with finer abrasive to remove the haze left by the first stage and address deeper scratches; it’s necessary for luxury vehicles or cars with heavy swirl marks. We diagnose which you need using a paint depth gauge and test panel.
How long does a ceramic coating last, and what maintenance does it need?
A properly applied ceramic coating (like Gtechniq or CarPro CQuartz) lasts 12 to 24 months with correct care. Maintenance means washing with pH-neutral soap every two weeks, avoiding alkaline tire dressings, and reapplying a maintenance SiO2 topcoat every six months. The Mississauga Ferrari owner maintained his Gtechniq finish for 18 months by following these steps—but skipping maintenance cuts the lifespan to six months.
Can I wash my car myself right after a detail, or do I need to wait?
You should wait at least 7 days before hand-washing and 24 hours minimum before water exposure of any kind (rain is fine, but don’t park under a sprinkler). The coating hardens fully in that window. We provide a detailed care sheet at pickup with these instructions—follow them and the coating’s lifespan doubles.
Why Nascar Auto Care Stands Apart in the GTA
We detail luxury vehicles from Mississauga to Markham, RVs from Vaughan, boats from Oakville, and motorcycles from across the GTA. Every detail follows the same nine-stage protocol. Every customer receives before-and-after documentation. Every coating application is backed by manufacturer certification and a written warranty.
We also know what doesn’t work. We know pressure washing at 2,400 PSI causes water damage. We know mixing coating brands breaks the finish. We know clay bar prep prevents 80 percent of warranty callbacks. These are field lessons learned by refusing to cut corners, and they’re why our pricing is what it is—not because we mark up labor, but because we deliver results that last.
Ready to see what a real exterior detailing process looks like?
Nascar Auto Care
Professional exterior detailing available across the GTA. Licensed detailers, certified coatings, documented results.
🎧 Listen to article
- Interior Detailing: What Happens Inside Your Car During a Full Deep-Clean — The 11-Step Process We Use
- Full Auto Detailing Cost in Mississauga — What You Actually Pay for Interior, Exterior, and Both Combined
- RV Detailing Cost in the GTA — What Full Interior and Exterior Protection Actually Costs by RV Length
- Motorbike Detailing Cost in the GTA — What Full Protection with Ceramic Coating Actually Costs by Bike Type
- Paint Correction: What Actually Happens to Your Clear Coat During a Multi-Stage Correction — Step by Step
This article was drafted with AI assistance to ensure factual accuracy.