Swirl marks are one of the most frustrating imperfections that appear on vehicle paint. These hairline scratches and micro-abrasions catch the light at different angles, creating a hazy, swirled appearance that destroys the glossy finish you’ve worked hard to maintain. If you’re driving around the Greater Toronto Area with a luxury vehicle, sports car, or any automobile you care about, chances are you’ve noticed these marks developing on your paint.
The good news? Paint correction swirl marks in the GTA can be completely eliminated with professional paint correction services. In this comprehensive guide, we’ll walk you through what swirl marks are, why they form, how to identify them, and most importantly, how professional paint correction can restore your vehicle’s showroom finish.
- Swirl marks are micro-scratches caused by improper washing, drying, and maintenance techniques
- Professional paint correction can remove swirl marks completely without repainting
- The process involves machine polishing with specialized compounds and pads
- Prevention is key—proper washing and drying methods prevent 80% of swirl mark formation
- GTA-based professional services like Nascar Auto Care ensure results matched to your paint type
- What Are Swirl Marks and Why Do They Form?
- How to Identify Swirl Marks on Your Vehicle
- Common Causes of Swirl Mark Formation
- Understanding the Paint Correction Process
- DIY vs. Professional Paint Correction
- Prevention: Protecting Your Paint After Correction
- Cost and Timeline for Paint Correction in the GTA
- Frequently Asked Questions
What Are Swirl Marks and Why Do They Form?
Swirl marks are fine scratches that develop on the clear coat layer of your vehicle’s paint. These marks create a pattern that resembles swirls or spider webs, particularly visible under direct sunlight or when light reflects at specific angles. Unlike deep scratches that penetrate through the clear coat into the primer or base coat, swirl marks exist entirely within the clear protective layer.
Your vehicle’s paint system typically consists of three layers: the base coat (which provides color), the clear coat (which protects and adds gloss), and the primer (which adheres paint to metal). Swirl marks affect only the clear coat—the outermost, most visible layer. This is actually good news because it means they’re accessible for professional correction without requiring a full paint job.
The Science Behind Clear Coat Damage
The clear coat on modern vehicles is typically 1.5 to 2 millimeters thick. While this might seem substantial, it’s actually quite delicate. When abrasive particles or improper tools make contact with the paint surface, they create micro-scratches that scatter light diffusely rather than reflecting it uniformly. This scattered light appears as the characteristic swirl or haze effect.
Professional paint correction specialists understand that each swirl mark is essentially a microscopic gouge in the clear coat structure. The goal of proper paint correction is to carefully remove a controlled amount of clear coat—using specialized machine polishing—until the surface is smooth enough to reflect light evenly once again.
How to Identify Swirl Marks on Your Vehicle
Before pursuing paint correction services, you need to confirm that what you’re seeing is actually swirl marks and not other paint defects. Proper identification ensures you’re addressing the right problem and choosing the appropriate solution.
Visual Inspection Techniques
The easiest way to spot swirl marks is to wash your vehicle thoroughly and inspect it in bright sunlight or under a strong work light. Stand at a 45-degree angle to the surface and move slowly along the panels. Swirl marks will become immediately apparent as fine lines that catch the light.
Another effective technique is the “headlight method.” Park your car in a dark garage and shine a powerful flashlight or headlamp across the panel surface from multiple angles. Swirl marks become dramatically more visible under concentrated light, appearing as fine scratches with a swirled or circular pattern.
Distinguishing Swirl Marks from Other Paint Defects
Swirl marks appear as fine, thin lines usually arranged in a circular or random pattern. They affect only the clear coat and don’t penetrate deeper.
Deeper scratches show base coat color or primer, indicating damage beyond the clear coat layer. These often require more extensive repair.
Water spots are mineral deposits from hard water that sit on top of the paint. They’re visible but don’t involve actual physical damage to the clear coat.
Etching appears as a dull, chalky finish and is caused by chemical damage (acidic substances) rather than mechanical scratching.
This distinction matters because each defect requires different treatment approaches. Paint correction services specifically address swirl marks and light scratches—the mechanical damage category.
Common Causes of Swirl Mark Formation
Understanding what causes swirl marks is essential if you want to prevent them from reoccurring after professional correction. Most swirl marks develop through everyday vehicle care and environmental exposure.
Improper Washing Techniques
This is the primary culprit behind swirl mark formation. When vehicle owners wash their cars using a two-bucket method incorrectly, or worse, a single bucket method, they’re essentially rubbing contamination back into the paint.
- Single bucket washing: Rinsing your wash mitt in the same bucket creates a slurry of grit and dirt. Each pass over the vehicle spreads abrasive particles.
- Wrong wash materials: Using rough sponges, microfiber cloths with poor construction, or low-quality wash mitts introduces texture that scratches the clear coat.
- Aggressive pressure: Applying heavy pressure while washing dramatically increases the likelihood of creating swirl marks.
- Circular motions: Washing in circles rather than straight lines creates the characteristic swirl pattern visible on most vehicles.
Automatic Car Washes
Many vehicle owners in the GTA turn to automatic car washes for convenience, but these facilities are notorious for creating swirl marks. The brushes and cloths used in automatic systems are in constant contact with hundreds of vehicles daily, accumulating embedded dirt particles. When these contaminated brushes touch your paint, they create thousands of tiny scratches in a single wash cycle.
Industry data suggests that automatic car washes account for approximately 45% of all swirl mark formation in vehicles that don’t receive professional detailing care.
Air-Drying and Improper Drying Techniques
When you allow your vehicle to air dry after washing, water droplets sit on the paint surface. As they evaporate, they leave behind mineral deposits from hard water. More problematically, dust particles settle on the wet surface and become trapped as the paint dries, creating specks that require aggressive removal later.
Improper drying technique—using regular towels, chamois materials with poor microfiber construction, or vigorous rubbing—introduces additional scratching. Professional detailers use ultra-soft, high-quality microfiber towels and gentle blotting rather than wiping motions.
Environmental Contaminants
Living in the GTA means exposure to specific environmental challenges that promote swirl mark formation:
- Road salt during winter months that corrodes and damages clear coat
- Industrial fallout and brake dust that embed in the paint surface
- Tree sap and bird droppings that require aggressive removal if left untreated
- UV exposure that degrades clear coat integrity over time
- Extreme temperature fluctuations causing paint expansion and contraction
Understanding the Paint Correction Process
Paint correction services in the GTA involve a systematic, multi-stage process designed to safely remove swirl marks without compromising your vehicle’s clear coat. This is where professional expertise becomes absolutely critical.
Stage 1: Paint Assessment and Thickness Measurement
Professional paint correction always begins with a thorough assessment. Specialists use advanced paint depth gauges to measure clear coat and base coat thickness across your vehicle. This measurement is crucial because it determines how aggressive the correction can be. Different manufacturers apply different clear coat thicknesses—German luxury vehicles often have 1.5mm, while Japanese manufacturers typically apply 1.8-2mm.
During this assessment, technicians identify all paint defects: swirl marks, scratches, oxidation, and water spots. They also assess the current condition of your paint to develop a customized correction strategy.
Stage 2: Paint Decontamination
Before machine polishing begins, the paint surface must be meticulously cleaned to remove embedded contaminants. This two-step process includes:
- Clay bar treatment: A specialized clay bar is glided across the paint surface to remove industrial fallout, brake dust, and embedded contaminants that washing cannot remove. This ensures smooth paint contact with polishing pads.
- Chemical decontamination: Iron remover and other chemical treatments dissolve specific contaminants that mechanical removal misses.
This decontamination stage is non-negotiable. Attempting to polish contaminated paint simply grinds abrasives into the clear coat, worsening the damage.
Stage 3: Machine Polishing With Appropriate Compounds
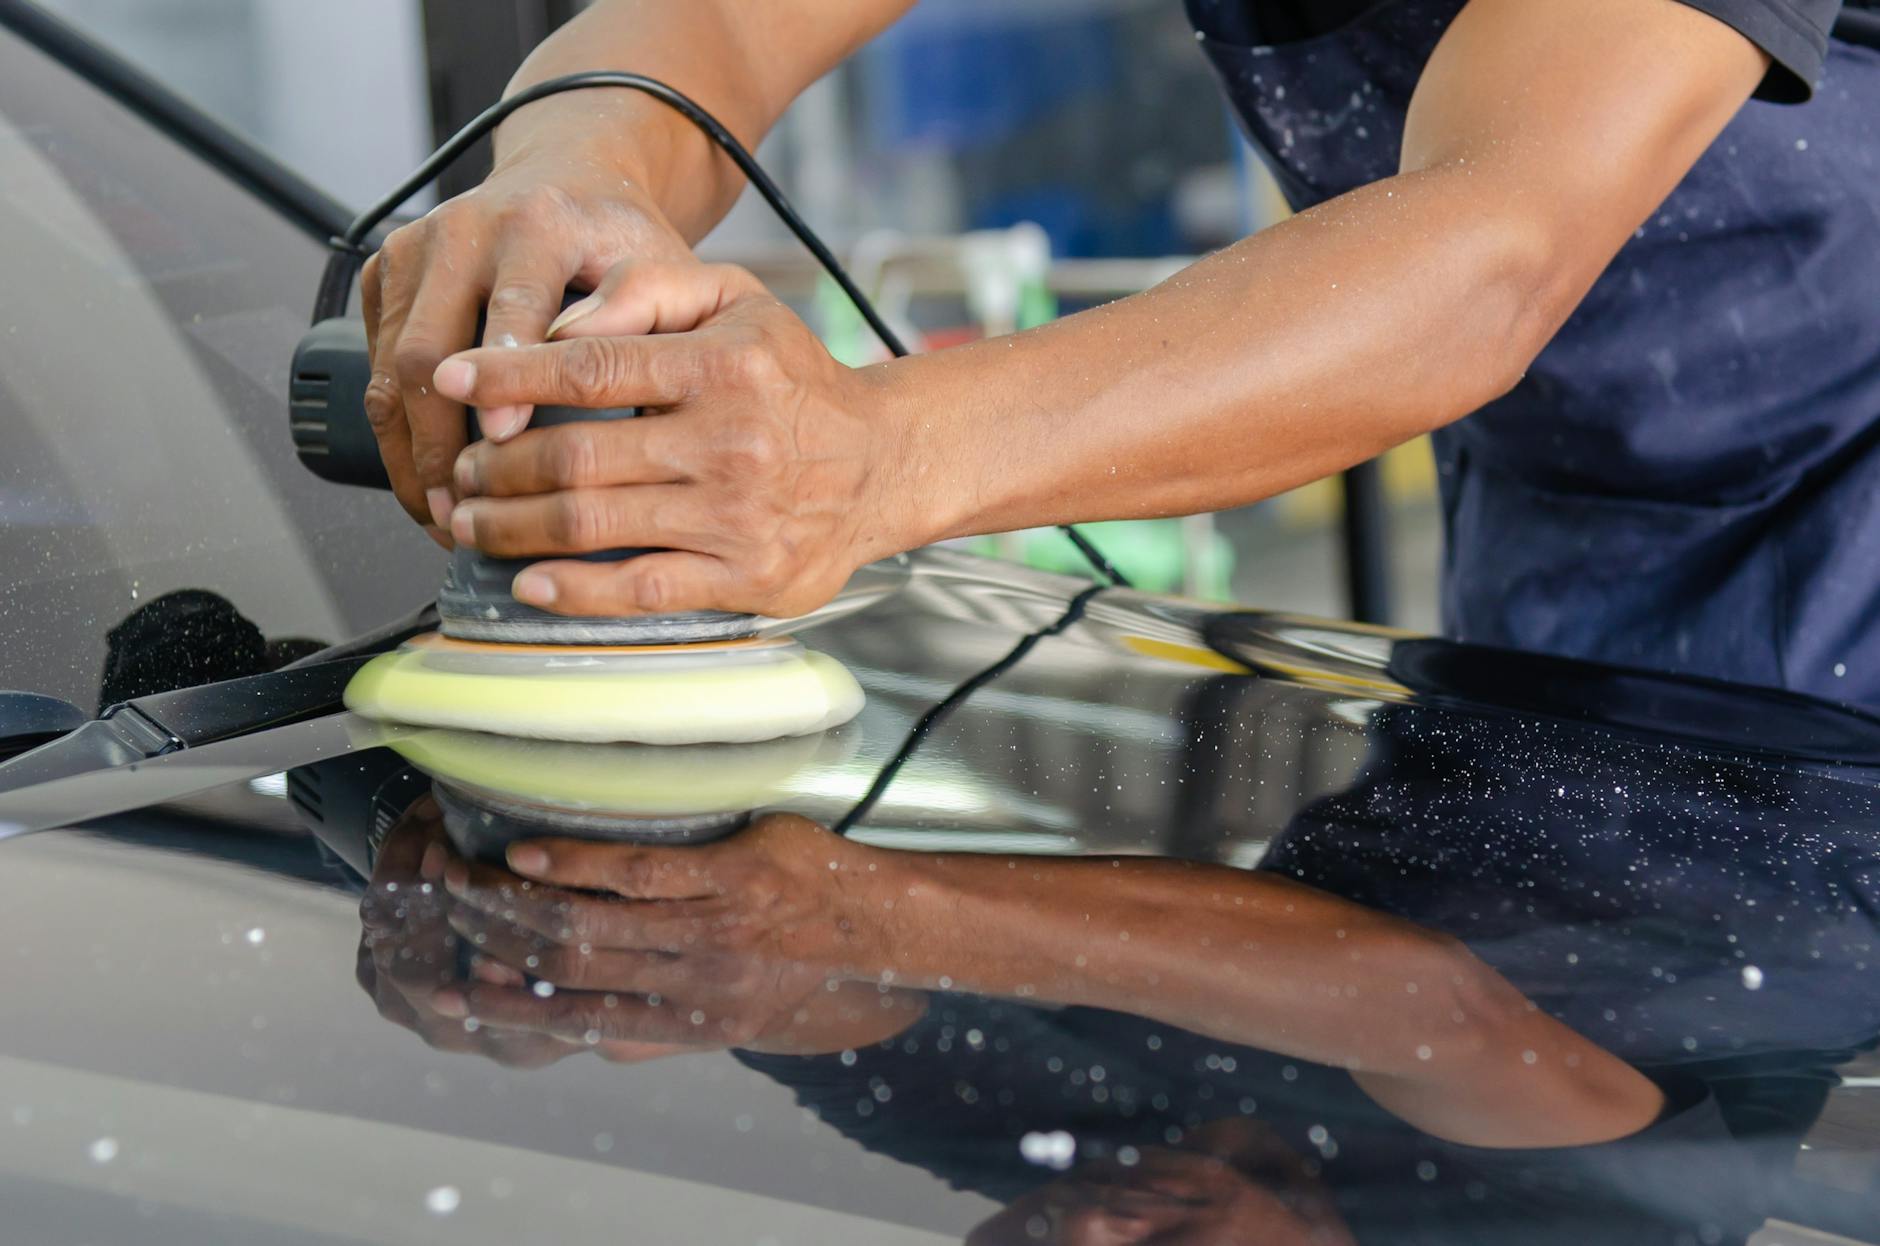
This is the core paint correction stage. Professional technicians use orbital polishing machines (rarely rotary polishers for swirl mark removal) with carefully selected compounds and pads. The process isn’t one-size-fits-all—it’s customized based on paint condition and correction goals.
| Correction Level | Compound Type | Best For | Clear Coat Removed |
|---|---|---|---|
| Light Correction | Fine Polish | Minor swirl marks only | 0.2-0.5 microns |
| Medium Correction | Medium Cut Compound | Moderate swirls and scratches | 0.5-1.2 microns |
| Heavy Correction | Aggressive Compound | Deep scratches, severe oxidation | 1.2-2.0 microns |
Stage 4: Finishing and Protection
After polishing, the paint is wiped down with specialized microfiber towels. Many professional paint correction services in the GTA follow correction with protective coatings like ceramic coatings or graphene coatings to seal and protect the newly corrected paint. These protective layers provide hydrophobic properties, UV protection, and enhanced gloss while preventing future swirl mark formation.
DIY vs. Professional Paint Correction
You might be tempted to tackle swirl marks yourself using consumer-grade polishing equipment. While DIY attempts seem cost-effective on the surface, they often result in far more expensive damage.
| Factor | DIY Approach | Professional Service |
|---|---|---|
| Equipment Cost | $200-500 for entry-level polisher | Professional equipment investment ($3,000+) |
| Learning Curve | Steep; requires substantial practice | Technicians trained in paint correction |
| Risk of Over-Correction | High; consumer equipment lacks speed control | Minimal; professionals use paint depth gauges |
| Compound Selection | Limited options; often too aggressive | Full range of compounds for paint type |
| Time Investment | 20-40+ hours for full vehicle | 8-16 hours depending on severity |
| Warranty/Guarantee | None; you bear all risk | Work typically guaranteed |
| Results Quality | Inconsistent; often leaves holograms | Professional-grade, consistent finish |
Why Professional Paint Correction Makes Sense
Professional paint correction specialists understand variables that DIY enthusiasts often miss entirely. They know how different paint brands respond to specific compounds, how machine speed affects correction quality, and most importantly, how to avoid over-correcting and burning through the clear coat.
One common DIY mistake is applying too much pressure with a polisher. Consumer-grade orbital polishers lack the sophisticated speed control and feedback systems of professional equipment. This leads to “holograms”—swirl marks created by the correction process itself, leaving your paint looking worse than before.
Additionally, professional detailers have access to premium paint correction compounds and specialized pads that simply aren’t available to consumers. They’ve invested thousands in training and certification to ensure expert results.
Prevention: Protecting Your Paint After Correction
Once you’ve invested in professional paint correction, protecting your newly restored finish is essential. The following best practices will prevent swirl marks from reoccurring.
Proper Washing Technique
Implement the correct two-bucket washing method:
- Bucket 1 (Wash bucket): Contains your wash solution and clean wash mitt
- Bucket 2 (Rinse bucket): Contains clean water with a grit guard at the bottom
- Process: Dip wash mitt in Bucket 1, apply to vehicle using straight lines (not circles), then rinse mitt in Bucket 2 before returning to Bucket 1
- Water pressure: Use low pressure; high-pressure washing forces particles into the paint
Use Professional-Grade Materials
Invest in quality wash mitts, microfiber drying towels, and pH-balanced wash soaps. Professional detailers recommend Japanese microfiber products with 80+ GSM (grams per square meter) rating for superior safety and performance.
Avoid Automatic Car Washes Entirely
This is non-negotiable if you want to protect your corrected paint. The contaminated brushes and aggressive machinery reintroduce swirl marks within weeks. Hand washing or professional detailing services are the only paint-safe alternatives.
Apply Protective Coatings
Ceramic coatings and graphene coatings provide exceptional protection against swirl mark formation. These coatings create a hard, hydrophobic layer that:
- Prevents direct paint contact from many contaminants
- Makes washing easier by reducing friction
- Provides UV protection against oxidation
- Adds enhanced gloss and depth to your finish
- Lasts 2-5 years depending on coating type
Many GTA vehicle owners combine paint correction with ceramic coating services to achieve maximum protection and appearance.
Regular Professional Detailing
Schedule professional detailing quarterly or bi-annually depending on environmental exposure. This maintains your paint’s condition and allows professionals to address any developing issues before they become severe.
Cost and Timeline for Paint Correction in the GTA
Paint correction pricing varies significantly based on paint condition, vehicle size, and correction intensity. Understanding these cost factors helps you make informed decisions.
Pricing Structure for Paint Correction
Most GTA paint correction services charge either by the vehicle section or offer packages for full vehicle correction.
- Single panel correction: $150-300 (hood, door, or fender)
- Front-end package: $400-800 (hood, fenders, bumper, headlight area)
- Full vehicle paint correction: $1,200-3,500+ depending on paint condition
- Paint correction + ceramic coating: $2,000-5,000+ for complete package
These are realistic estimates for the Greater Toronto Area. Luxury vehicles and those with severe paint damage command premium pricing due to increased complexity and time investment.
Time Requirements
Paint correction is not a quick process. Professionals prioritize quality over speed. Expect the following timelines:
- Light correction (minor swirl marks only): 8-12 hours
- Medium correction (moderate damage): 12-20 hours
- Heavy correction (severe swirls/scratches): 20-40+ hours
Full vehicle correction typically requires 2-4 business days depending on paint severity. Some facilities handle multiple vehicle sections daily, while others dedicate full days to single vehicles for meticulous attention.
Hidden Cost Considerations
Factor these additional costs into your budget:
- Ceramic or protective coating application (often recommended post-correction): $300-1,500
- Maintenance detailing after correction: $150-400 quarterly
- Touch-up services if new swirl marks develop: $100-250 per area
The investment in proper paint correction pays dividends through restored value, appearance, and protection of your vehicle.
Frequently Asked Questions
Can swirl marks be permanently removed?
Yes, professional paint correction can permanently remove swirl marks from the clear coat layer. However, preventing new swirl marks from forming requires proper washing techniques, avoiding automatic car washes, and maintaining protective coatings. Once corrected, swirl marks won’t “come back,” but your paint can develop new marks if not properly maintained.
Will paint correction damage my clear coat?
Professional paint correction involves removing only microscopic amounts of clear coat—typically 0.2-2.0 microns depending on correction severity. Since clear coat is usually 1.5-2mm thick, properly executed correction has negligible long-term impact. Professional technicians use paint depth gauges to prevent over-correction, ensuring your paint remains healthy and protected for years.
How long does paint correction last?
Paint correction results are permanent until new swirl marks develop through improper washing or environmental exposure. If you maintain proper washing techniques and apply protective coatings, your corrected paint can maintain its showroom appearance for years. However, environmental wear and washing will eventually introduce new minor marks that may benefit from annual touch-up polishing.
Should I get a ceramic coating after paint correction?
Yes, absolutely. Applying ceramic or graphene coating immediately after paint correction is highly recommended. The coating protects your freshly corrected paint from UV damage, contamination, and prevents new swirl mark formation during washing. It also makes future maintenance significantly easier and maintains the gloss enhancement from correction longer.
Ready to Restore Your Vehicle’s Paint?
Swirl marks can significantly diminish your vehicle’s appearance and value. Professional paint correction services in the GTA offer the most effective solution, restoring that showroom finish and protecting your investment. Whether you’re driving a luxury sedan, sports car, or everyday vehicle, proper paint correction transforms your paint’s appearance from hazy to mirror-like clarity.
The key is choosing a professional detailer with proven expertise, advanced equipment, and commitment to customer satisfaction. Rushed work or cut-rate pricing inevitably compromises results.
“Your vehicle’s paint tells the story of how it’s been cared for. Professional paint correction isn’t just about aesthetics—it’s about preserving your vehicle’s condition and protecting its future.” — Detailing Professional, GTA
Nascar Auto Care
Professional service available 24/7. Fast response, licensed technicians.

- The Complete Guide to Paint Correction Services in the GTA
- How To Remove Paint Swirl Marks and Scratches from Your Car
- How To Restore Faded Paint on Your Vehicle With Professional Paint Correction
- A Customer Asked: “Will Paint Correction Remove the Scratches on My Black BMW Before I Sell It?” — The Full An
- Paint Correction: What Actually Happens to Your Clear Coat During a Multi-Stage Correction — Step by Step
This article was drafted with AI assistance to ensure factual accuracy.