Your vehicle’s paint tells a story. Unfortunately, that story often includes sun damage, oxidation, and the gradual fade that comes with time and exposure. If you’re looking at your car and wondering when the vibrant finish turned dull and lifeless, you’re not alone—paint fading affects approximately 73% of vehicles over five years old in regions with intense UV exposure like the Greater Toronto Area.
The good news? Paint correction for faded paint is one of the most transformative detailing services available, capable of restoring your vehicle’s original luster and protecting your investment for years to come.
This comprehensive guide walks you through everything you need to know about faded paint restoration, from understanding what causes the damage to exploring professional solutions that deliver showroom-quality results.
- Paint fading is caused by UV rays, oxidation, and environmental contaminants that break down your vehicle’s clear coat
- Professional paint correction removes oxidation layers and restores clarity without full repainting
- The process takes 4-8 hours depending on severity and vehicle size
- Ceramic and graphene coatings provide 2-5 years of protection after correction
- DIY methods rarely achieve professional results and can cause additional damage
What Is Faded Paint and Why Does It Happen?
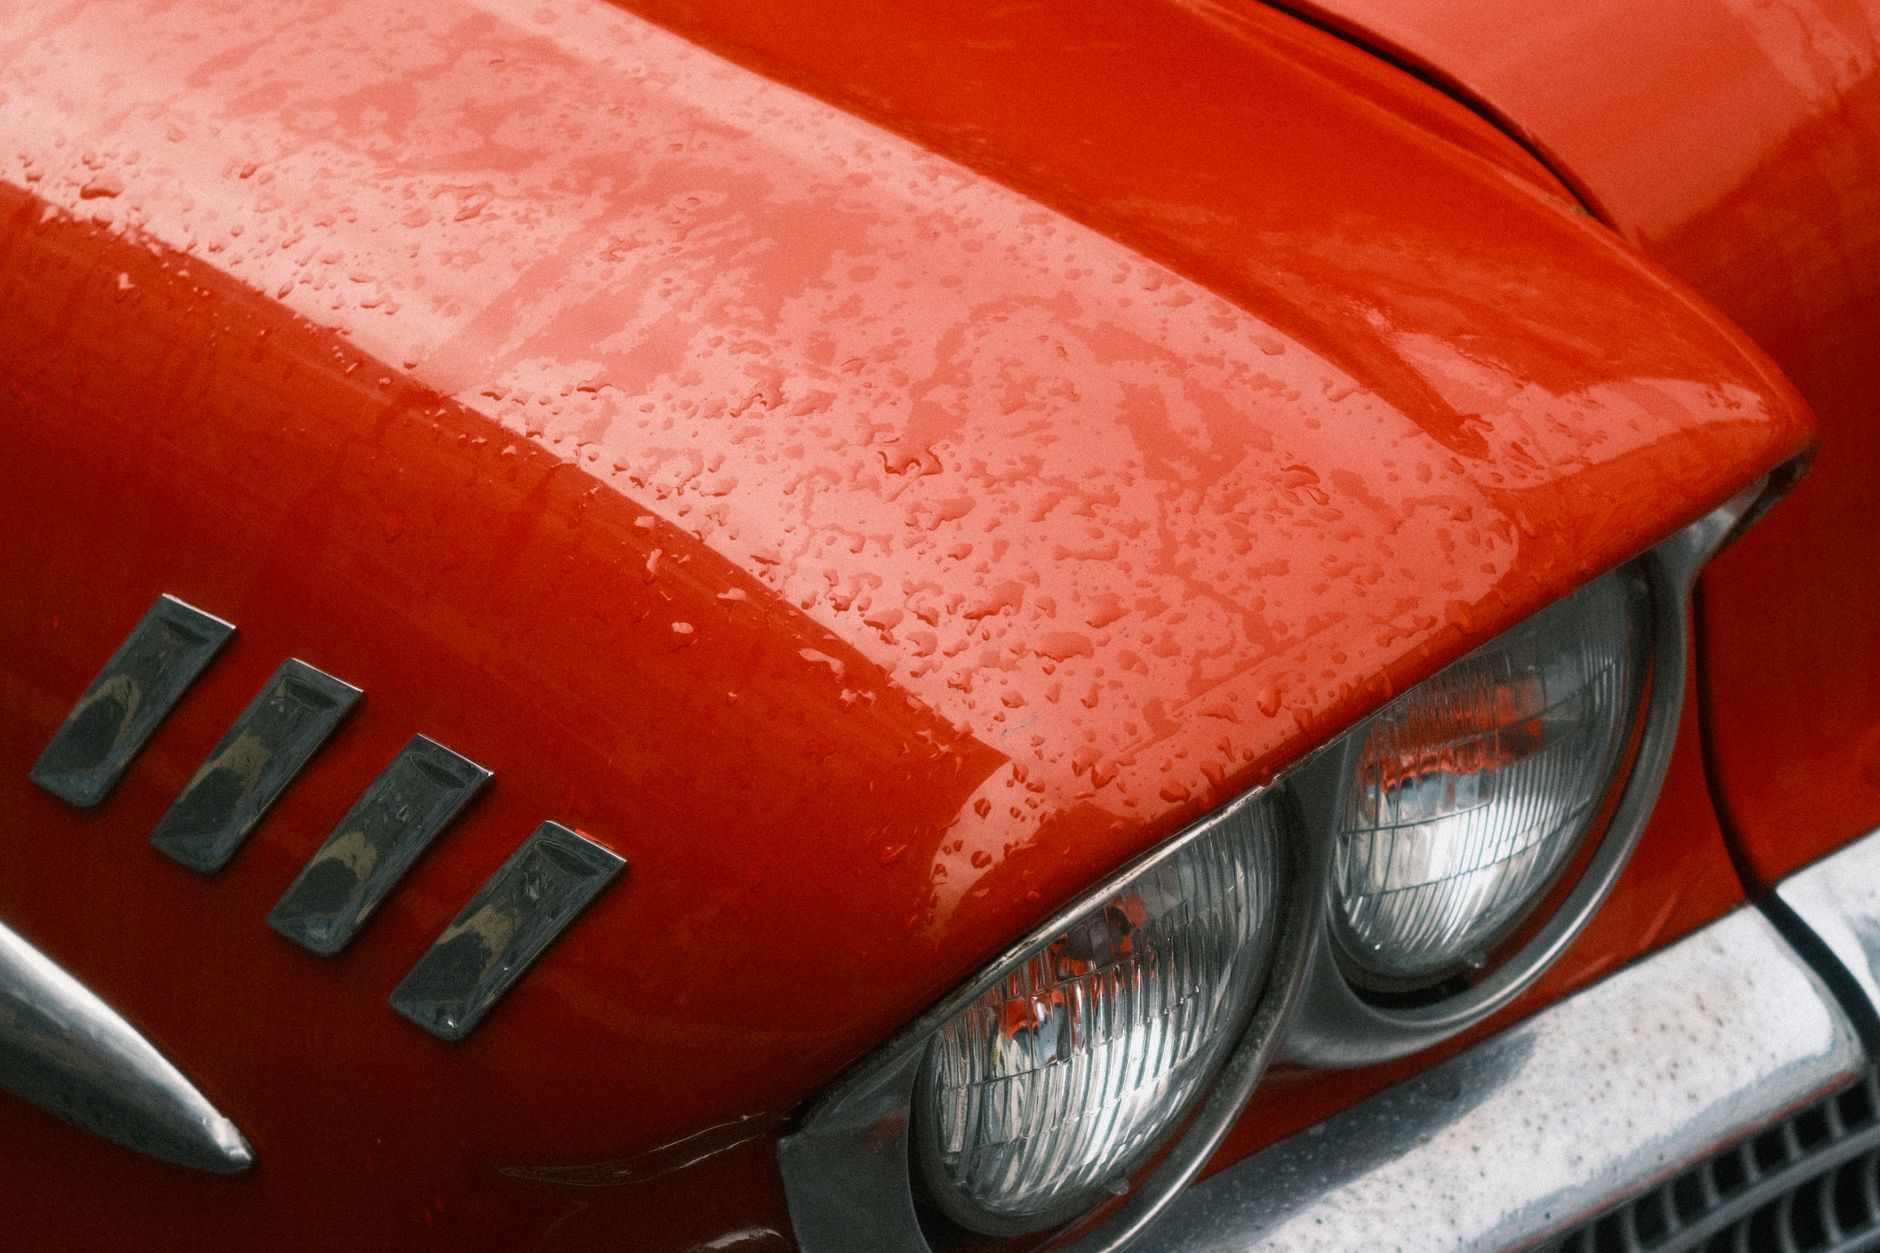
Faded paint occurs when the protective clear coat layer on your vehicle becomes compromised, exposing the color coat beneath to direct environmental damage. Paint fade is not a surface issue—it’s the result of chemical breakdown at the microscopic level.
Your vehicle’s paint system consists of multiple layers: a primer, base color coat, and a clear protective coat. The clear coat is typically only 25-50 microns thick (thinner than a human hair), yet it bears the brunt of environmental assault.
Primary Causes of Paint Fading
Ultraviolet (UV) radiation is the leading culprit behind paint fade. UV rays penetrate the clear coat and break down the molecular bonds in the paint layer, causing oxidation. This process is accelerated in the Greater Toronto Area, where vehicles experience intense sun exposure during summer months and stark seasonal changes that stress paint.
Oxidation is the chemical process where oxygen molecules bond with paint compounds, creating a chalky, dull appearance. You’ll recognize oxidation by the white or grayish film that appears when you run your finger across the paint.
Environmental contaminants including acid rain, tree sap, bird droppings, road salt (especially prevalent in Toronto winters), and industrial fallout embed themselves in the clear coat and accelerate degradation. Road salt, in particular, is hygroscopic—it attracts moisture and accelerates corrosion.
Heat and thermal stress cause paint expansion and contraction. In regions like the GTA that experience 40+ degree temperature swings between seasons, this constant cycling weakens the paint structure.
Moisture and humidity seep beneath the clear coat when it’s compromised, trapping water that causes separation and further deterioration.
Signs Your Vehicle Has Faded Paint
Paint fading doesn’t happen overnight, but recognizing the early signs allows you to take action before severe damage occurs. Early intervention prevents the need for expensive repainting.
Early-Stage Indicators
- Dull, chalky appearance when sunlight hits the paint
- Loss of depth in color—the paint looks flat rather than glossy
- White or gray film visible when running your hand across the surface (oxidation layer)
- Uneven color distribution where some panels appear darker or lighter than others
- Reduced water beading where water no longer forms distinct droplets on the surface
Advanced-Stage Indicators
- Clear coat peeling or flaking in visible sections
- Deep oxidation that cannot be wiped away
- Paint swirls and scratches becoming prominent due to clarity loss
- Exposed base coat visible in areas—a sign the clear coat has failed completely
- Rust spots forming beneath the paint surface
If your vehicle shows advanced-stage indicators, professional paint correction should be your first step before considering full repainting.
Understanding Professional Paint Correction
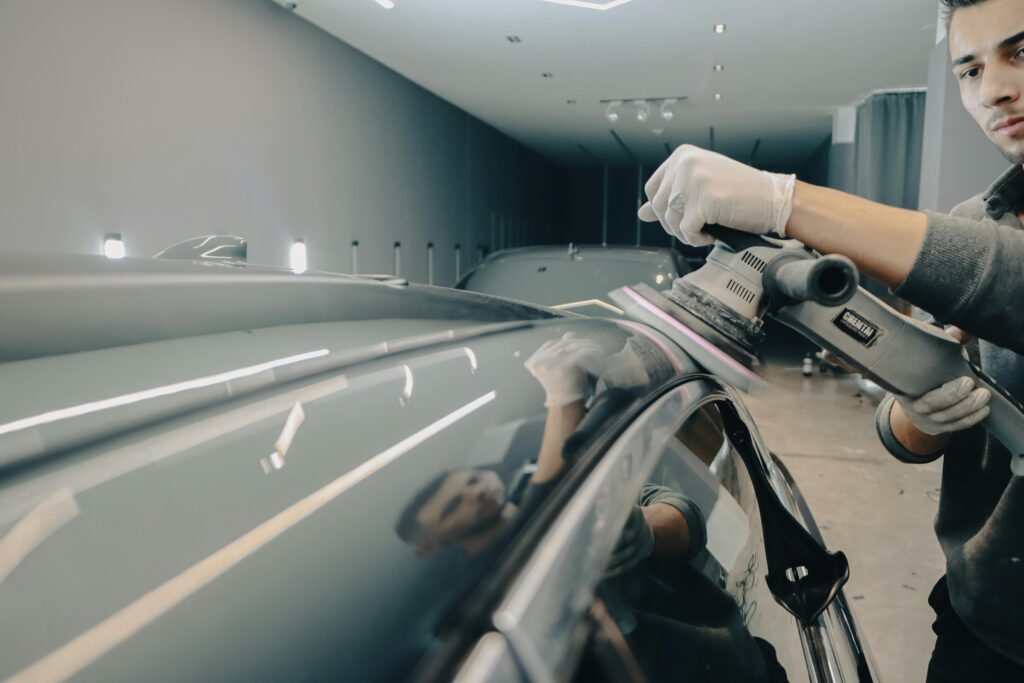
Paint correction is a multi-stage process designed to remove oxidation, restore clarity, and revitalize your vehicle’s appearance without stripping down to bare metal or requiring full repainting. It’s a precision service that separates professional detailers from amateur attempts.
The goal of paint correction isn’t to add material—it’s to remove the damaged top layers of clear coat to expose the unblemished paint beneath.
The Paint Correction Process Step-by-Step
Step 1: Deep Cleaning and Surface Preparation
Before any corrective work begins, your vehicle receives a comprehensive deep wash to remove all contaminants. Professional detailers use decontamination clay to lift embedded particles that regular washing misses. This step is critical—proceeding without proper decontamination can trap particles under polishing compounds, causing additional scratches.
Step 2: Paint Thickness Assessment
Professional detailers use paint depth gauges to measure how much clear coat remains on each panel. This measurement determines how aggressively they can polish without cutting through to the base coat. Most factory paint is 100-150 microns thick; a safe correction removes only 5-10 microns.
Step 3: Machine Polishing
This is where the transformation happens. Professional-grade orbital polishers (typically 1200-3600 RPM) combined with specialized compounds remove the oxidized layer. Unlike rotary polishers, dual-action orbital polishers are safer for inexperienced hands but still deliver professional results in professional hands.
Step 4: Refinement Polishing
After aggressive correction, a secondary, finer polishing pass removes the haze left by the initial compound. This refining step uses lighter compounds and pads to create the glossy finish customers expect.
Step 5: Final Inspection and Protection
The paint is inspected under LED lighting to ensure all defects are corrected. A protective sealant, ceramic coating, or graphene coating is then applied to protect the restored finish.
Paint Restoration Methods Explained
Different levels of fading require different restoration approaches. Understanding your options helps you choose the right solution for your vehicle’s specific condition.
| Restoration Method | Severity Level | Duration | Cost Range (GTA) |
|---|---|---|---|
| Wash & Wax | Minimal (Prevention) | 2-3 hours | $150-300 |
| Single-Stage Polish | Light Fade | 4-6 hours | $400-800 |
| Multi-Stage Polish | Medium to Heavy Fade | 6-10 hours | $800-1,500 |
| Full Paint Correction + Ceramic | Severe Fade & Protection | 8-12 hours | $1,400-2,500 |
| Full Repainting | Clear Coat Failure | Multiple Days | $3,000-8,000+ |
Ceramic Coating for Long-Term Protection
Ceramic coatings are nano-ceramic compounds that bond to the paint surface, creating a hydrophobic barrier that lasts 2-3 years. After paint correction, applying a ceramic coating protects your restored finish from new oxidation and contaminants.
Professional ceramic coatings (unlike consumer-grade products) contain higher concentrations of silicon dioxide (SiO2) and provide significantly better protection. They reduce water spotting by up to 95% and make future maintenance exponentially easier.
Graphene Coating for Premium Protection
Graphene coatings are the newer generation of paint protection, offering 3-5 years of durability compared to ceramic’s 2-3 years. Graphene is stronger than diamond at the molecular level, providing superior scratch resistance and hydrophobic properties.
Graphene coatings cost approximately 30-50% more than ceramic but offer better longevity and performance. For luxury vehicles or those with severe fading histories, graphene is the premium choice.
“Paint correction combined with a professional ceramic or graphene coating doesn’t just restore your vehicle’s appearance—it protects your investment from future damage. The cost of correction is a fraction of what you’ll spend on repainting later.”
DIY vs. Professional Paint Correction
The temptation to DIY paint correction is understandable—YouTube makes it look simple. The reality, however, is that paint correction is one of the highest-skill detailing services, and amateur mistakes are expensive and permanent.
Why Professional Paint Correction Wins
Equipment and Materials
Professional detailers invest $10,000-50,000+ in polishing equipment, LED inspection lights, paint depth gauges, and professional-grade compounds. Consumer polishing kits ($50-200) cannot replicate this quality or precision.
Technique and Training
Professional paint correction requires understanding paint chemistry, machine control, pressure application, and pattern work. Even a slight variation in technique can create swirls, holograms, or burnt clear coat.
Quality Control
Professional detailers inspect work under LED lights (5000K color temperature) at multiple angles. They have systematic processes to ensure consistency across all panels.
Common DIY Paint Correction Mistakes
- Over-aggressive polishing that burns through the clear coat to the base coat (irreversible damage)
- Inconsistent pressure application causing holograms and swirls
- Improper pad and compound pairing resulting in poor correction or additional scratches
- Skipping decontamination and trapping particles under polishing compounds
- Working in incorrect conditions (too hot, too cold, in direct sunlight) affecting compound cure and application
- No paint depth measurement leading to removal of too much clear coat
Aftercare and Long-Term Protection
Professional paint correction is only the beginning. What happens after correction directly impacts how long your restored finish lasts. Proper aftercare extends the benefits for years.
Immediate Post-Correction Care
Curing Time
If a ceramic or graphene coating was applied, most require 24-48 hours curing before washing. During this time, avoid exposing your vehicle to rain, dust, or direct sunlight when possible.
First Wash Protocol
The first wash after correction should use the two-bucket method: one bucket for soapy water, one for rinsing the wash mitt. This prevents contaminants from the rinse bucket from reintroducing scratches.
Long-Term Maintenance Schedule
- Every 2 weeks: Wash using the two-bucket method with pH-neutral soap
- Monthly: Dry thoroughly after washing to prevent water spotting
- Every 3 months: Apply maintenance spray sealant if ceramic coating is wearing
- Every 6 months: Professional inspection for coating degradation or new contaminant
- Annually: Professional deep clean and protective reapplication
Protecting Your Investment Year-Round
In Winter (GTA Specific)
Salt is paint’s enemy. Wash your vehicle every 2 weeks during winter months to remove salt accumulation. Consider professional undercarriage protection in addition to paint protection.
In Summer
Park in shade when possible. If garage parking isn’t available, invest in a quality vehicle cover. UV damage accelerates quickly during peak summer months.
Year-Round
Remove contaminants immediately: tree sap, bird droppings, and road tar should be addressed within 24 hours of occurrence to prevent paint damage.
Frequently Asked Questions
Can paint correction remove all types of paint damage?
Paint correction removes oxidation, light swirls, scratches, and water spots effectively. However, it cannot repair clear coat that has completely failed, deep gouges exposing the base coat, or rust damage. If damage extends beyond the clear coat, repainting is necessary.
How long does paint correction last after it’s completed?
Paint correction itself is permanent—you’re removing damaged material to expose fresh paint beneath. However, the exposed paint needs protection. A ceramic coating lasts 2-3 years, graphene coating lasts 3-5 years, and traditional wax lasts 1-2 months. Regular maintenance extends these timelines.
Will paint correction damage my vehicle’s paint?
Professional paint correction, when performed by certified technicians using proper technique and equipment, does not damage paint—it restores it. However, amateur attempts or poor-quality professional work can cause swirls, holograms, and burn-through. Always choose certified detailers with proven track records.
What’s the difference between paint correction and paint polishing?
Paint polishing is a general term for using compounds and pads on paint. Paint correction is a specific, multi-stage process designed to restore severely faded or damaged paint. All paint correction involves polishing, but not all polishing constitutes paint correction. Professional paint correction is a comprehensive restoration service.
Nascar Auto Care
Professional service available 24/7. Fast response, licensed technicians.

- A Customer Asked: “Will Paint Correction Remove the Scratches on My Black BMW Before I Sell It?” — The Full An
- Paint Correction: What Actually Happens to Your Clear Coat During a Multi-Stage Correction — Step by Step
- The Complete Guide to Paint Correction Services in the GTA
- How To Prepare Your Luxury Vehicle for Professional Auto Detailing in the GTA
- How We Restored a Salt-Damaged Porsche Cayenne in Oakville — 3 Stages of Paint Correction and What We Found
This article was drafted with AI assistance to ensure factual accuracy.